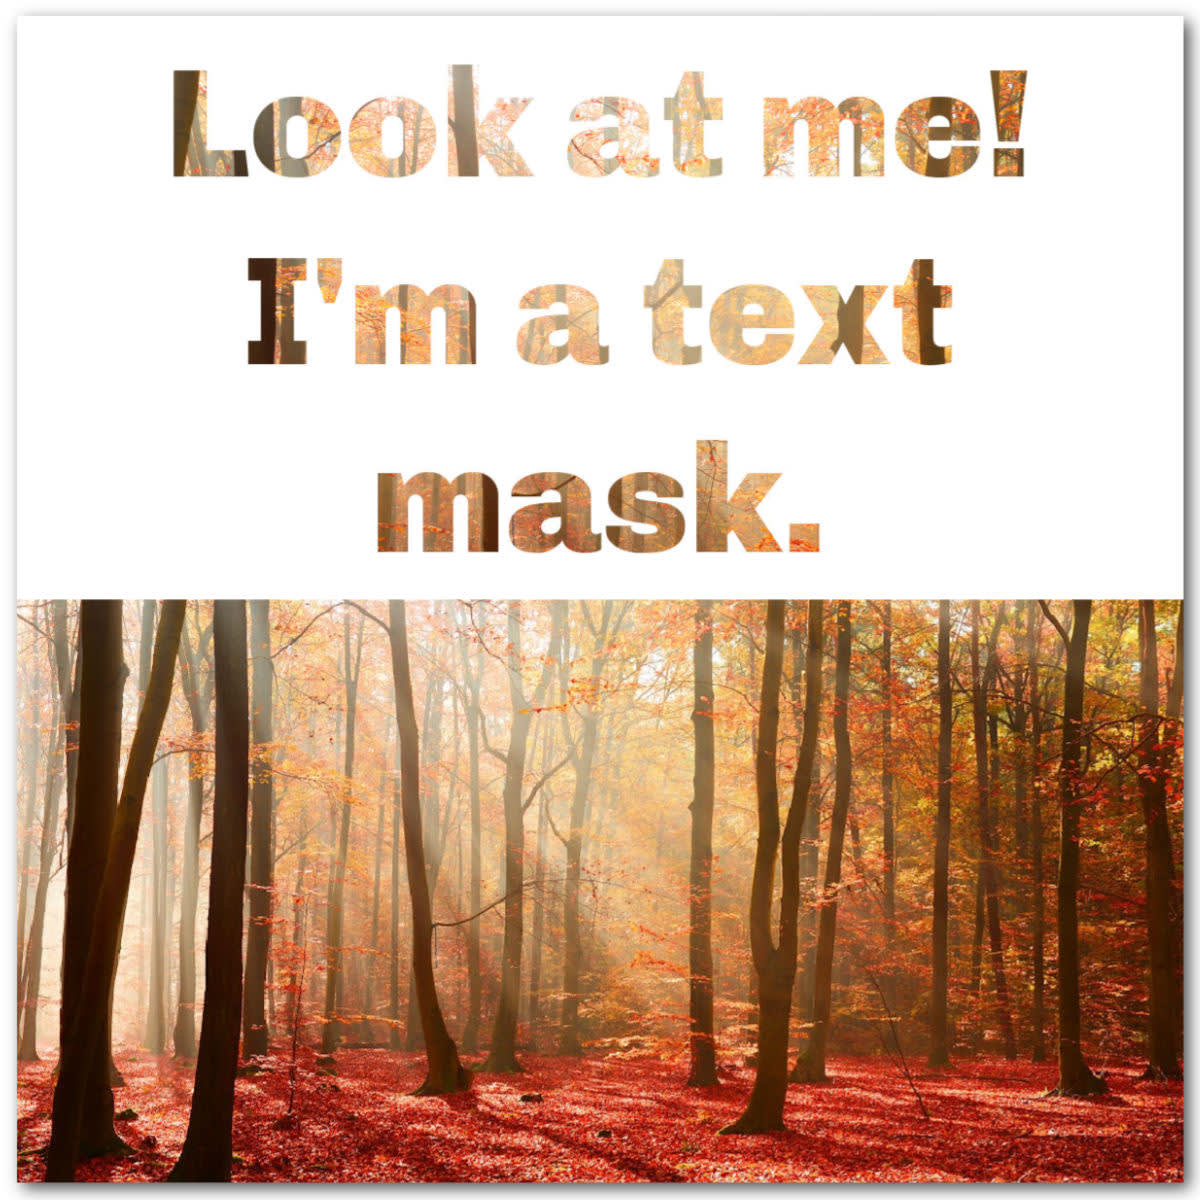
Clipping mask with text. Image as font. See-through text over your image.
You’ve probably heard this visual described a zillion ways, but here at PicMonkey, we call them "text masks." This awe-inspiring look can be both polished and fun, making for some incredible typography art.
Making a text mask in PicMonkey is super easy. Follow along with these steps and we’ll have you on your way to filling text with images (a.k.a. text masking mastery) in no time. And as a bonus, we'll show you how to also fill text with unique textures and gradient colors!
How to make a text mask in 4 quick steps
Start a new project.
Add text to your canvas.
Add an image to fill your text.
Customize the text mask for the look you want.
1. Start a new project
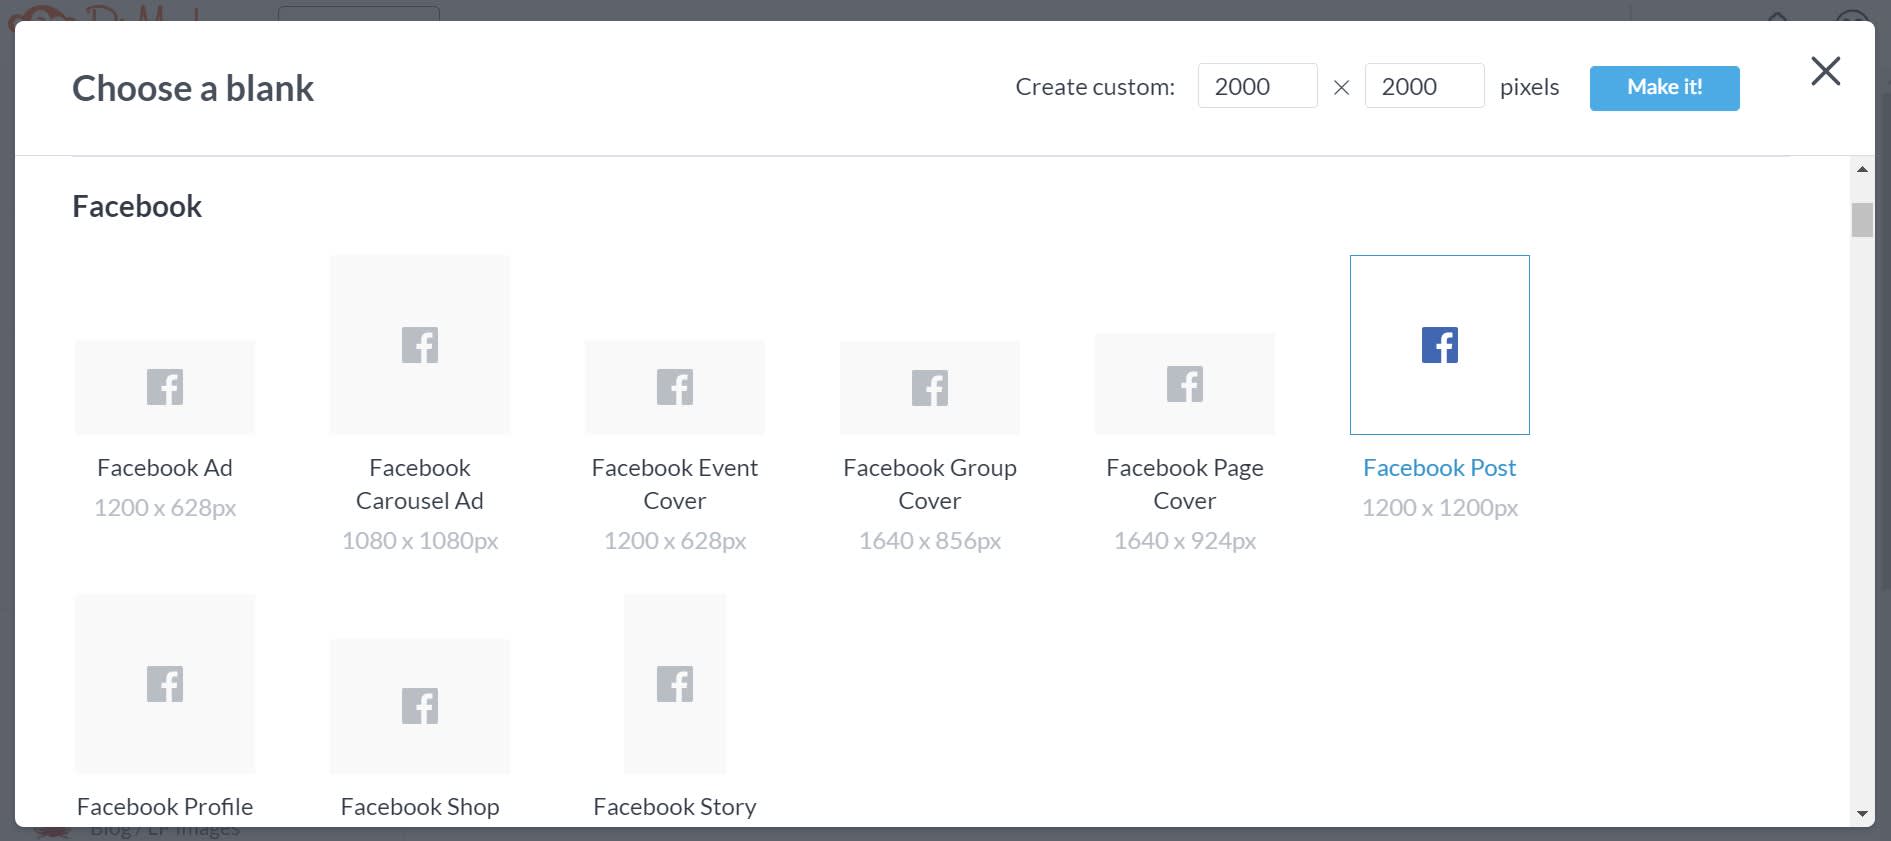
From the PicMonkey homepage, click Create new and choose the size canvas you want — or you can type custom dimensions in the upper right corner. Just click Make it! afterward.
And don't forget the option behind Door #3: If you know exactly what you need and wanna get off to a fast start, one of our pre-sized, professionally designed templates might be the way to go.
2. Add text to your canvas
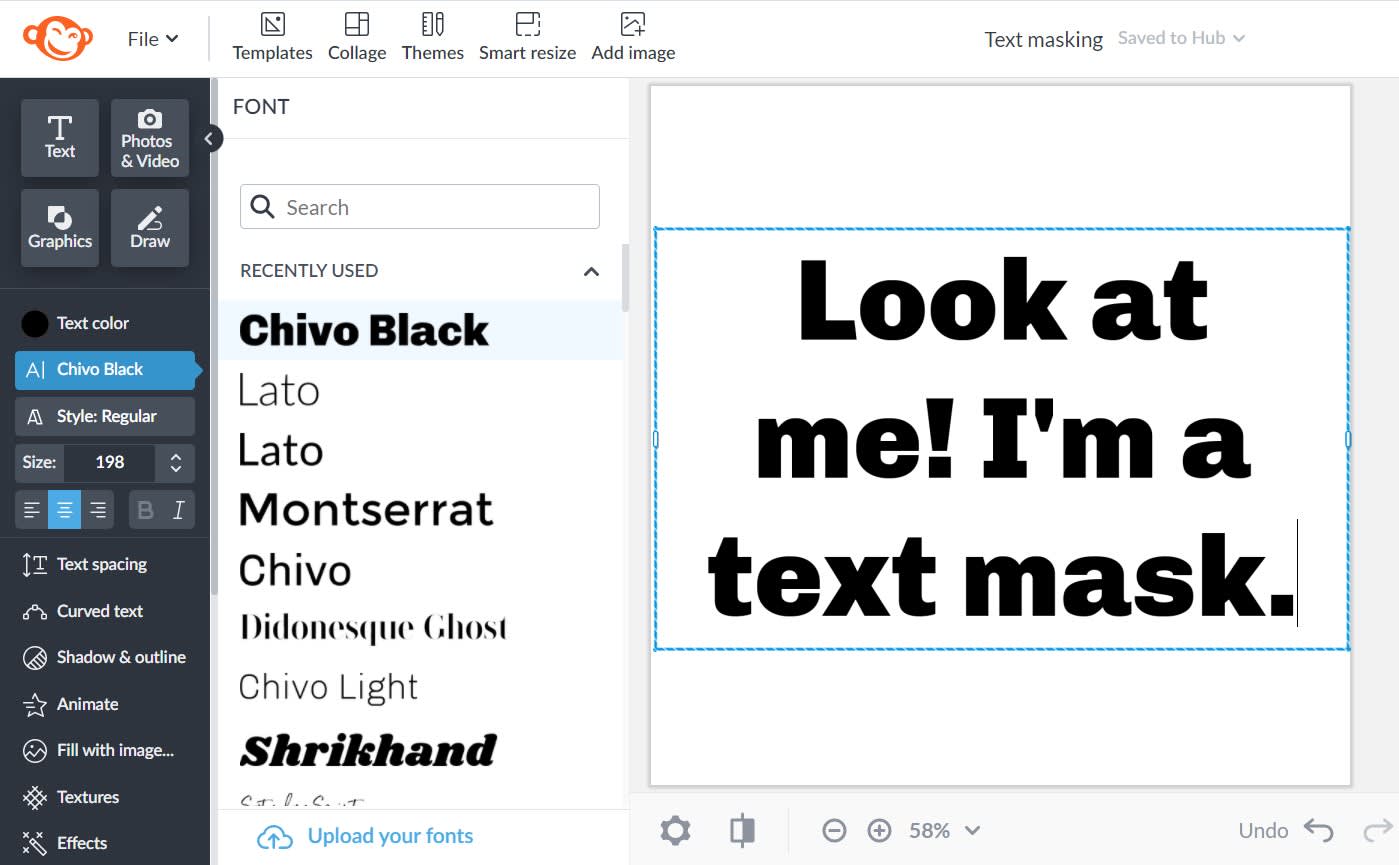
To pick your text, click the Text tab (the “Tt” on the far left side of the editor). You can also add graphics (Graphics tab — the shapes icon), or anything else you want to be filled with your image.
Chunky text (like the Chivo Black typeface) works nicely to create lots of space for the image to shine through—you've got a zillion font choices in PicMonkey.
3. Add an image to fill your text
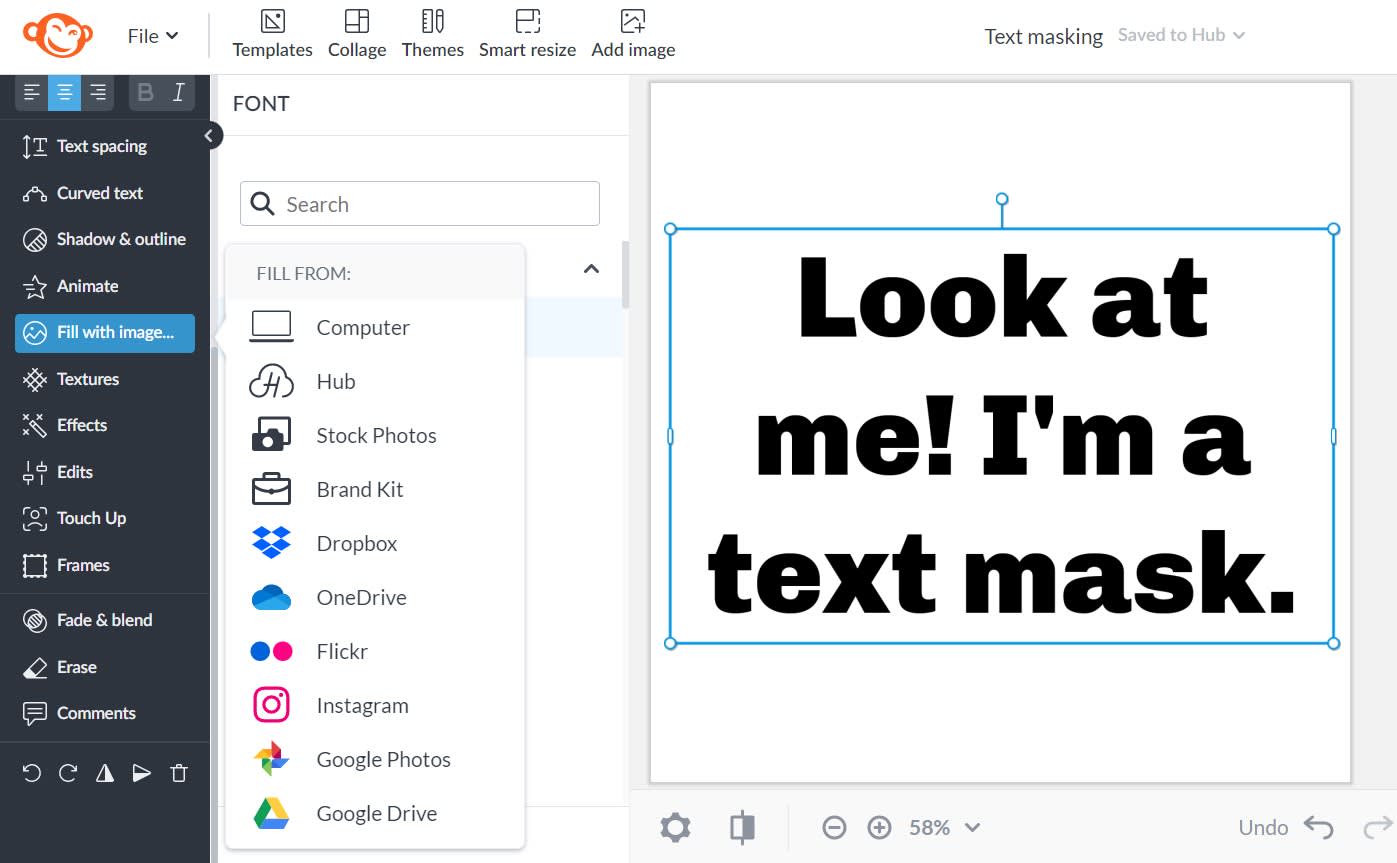
Select the layer you want to put an image inside of and then click Fill with image on the Text Tools or the Graphics Tools menus.
Choose a photo from your desktop, cloud drive, Hub, or from our vast stock photo library. Click Add fill.
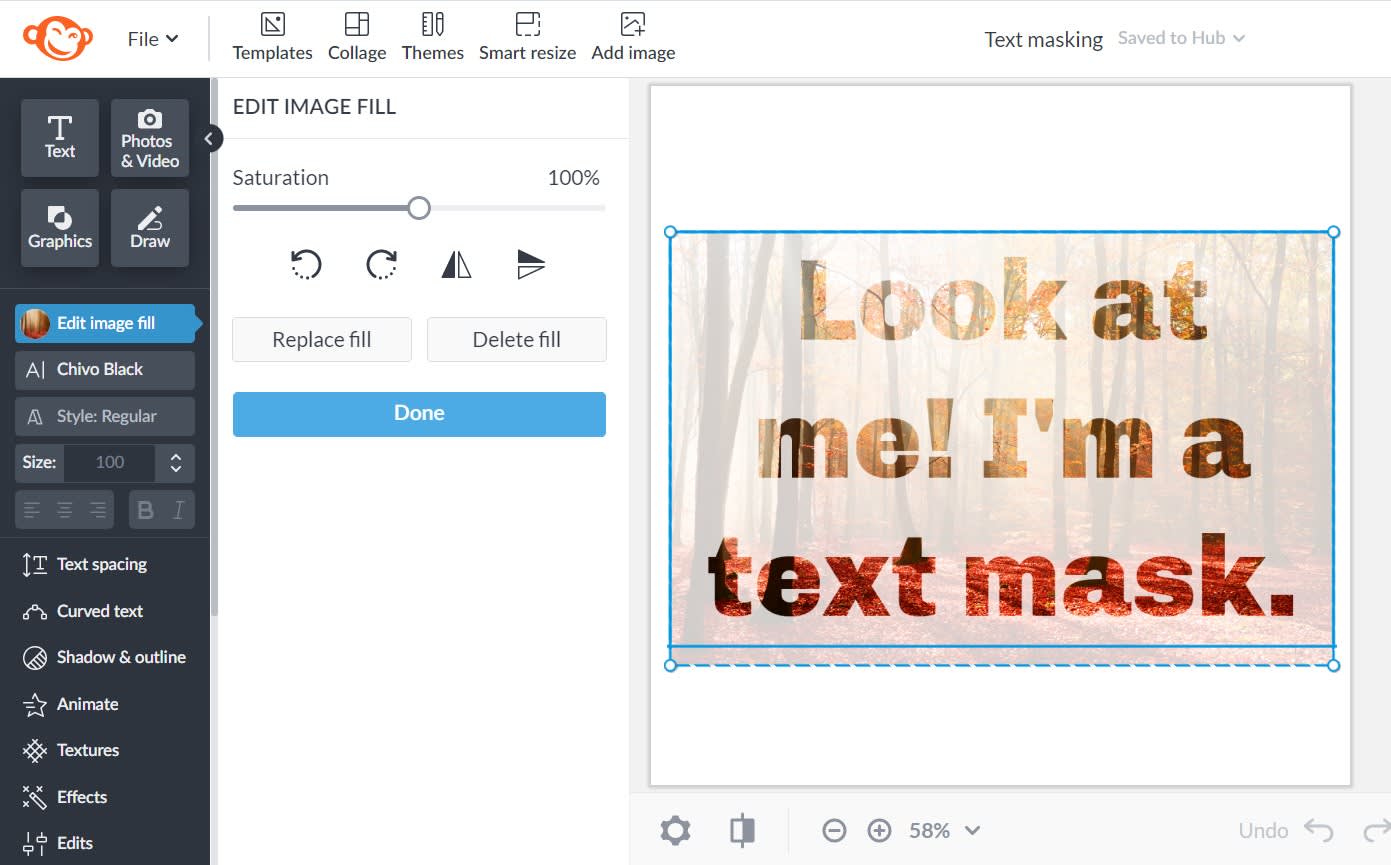
Use the Edit image fill button to adjust the look of the photo behind your text: rotate, flip, or adjust the saturation of the photo's colors. If you decide later that you want to replace or delete fill, just select the layer and return to Edit image fill to make your changes.
You can adjust to your heart's content by selecting the text block, then hitting up all the controls in the Text Tools menu that appears to the side.
4. Customize your text mask like you would any text

After you've applied an image fill to your text, the textual sky's the limit for further stylizing your words. Add shadows, change the font, curve or circle your text, add an outline, and adjust the spacing or font size.
Of course, add more to your design if you like—a shape or background color, perhaps. You can do it all in PicMonkey! Speaking of which...
How to add textures or gradient colors to text
In today's vast world of options, we'd be remiss to not provide you with a few other ways to fill your images and create "Holy moly!" designs.
To add a texture to your text layer:
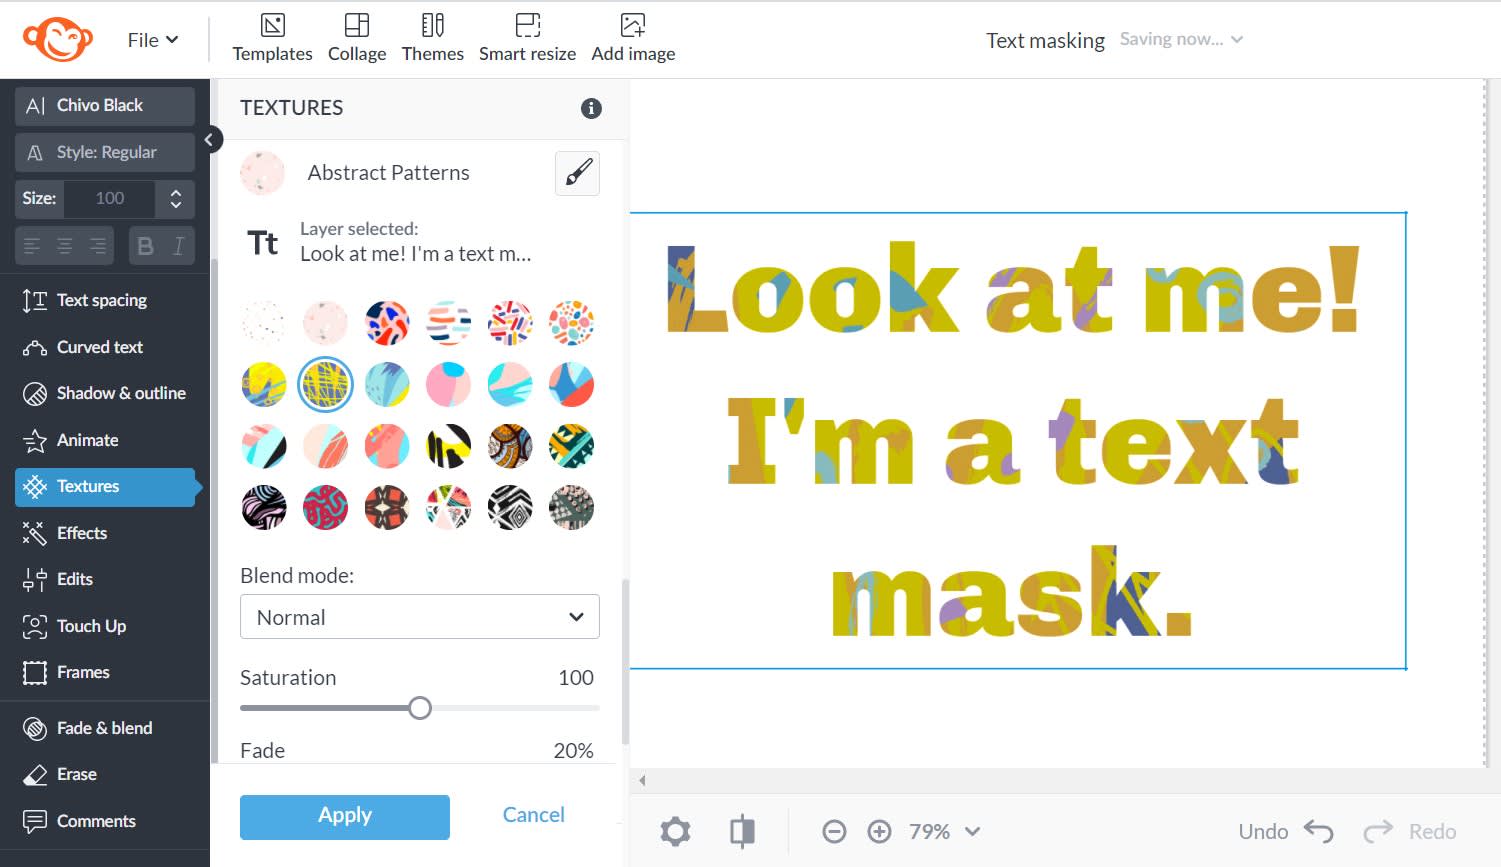
Select your text layer.
Click Textures on the left tabs menu.
Choose from hundreds of unique textures (we pulled one from the Abstract Patterns category).
Use the control sliders to adjust your look.
Click Apply to save your changes.
To add gradient colors:
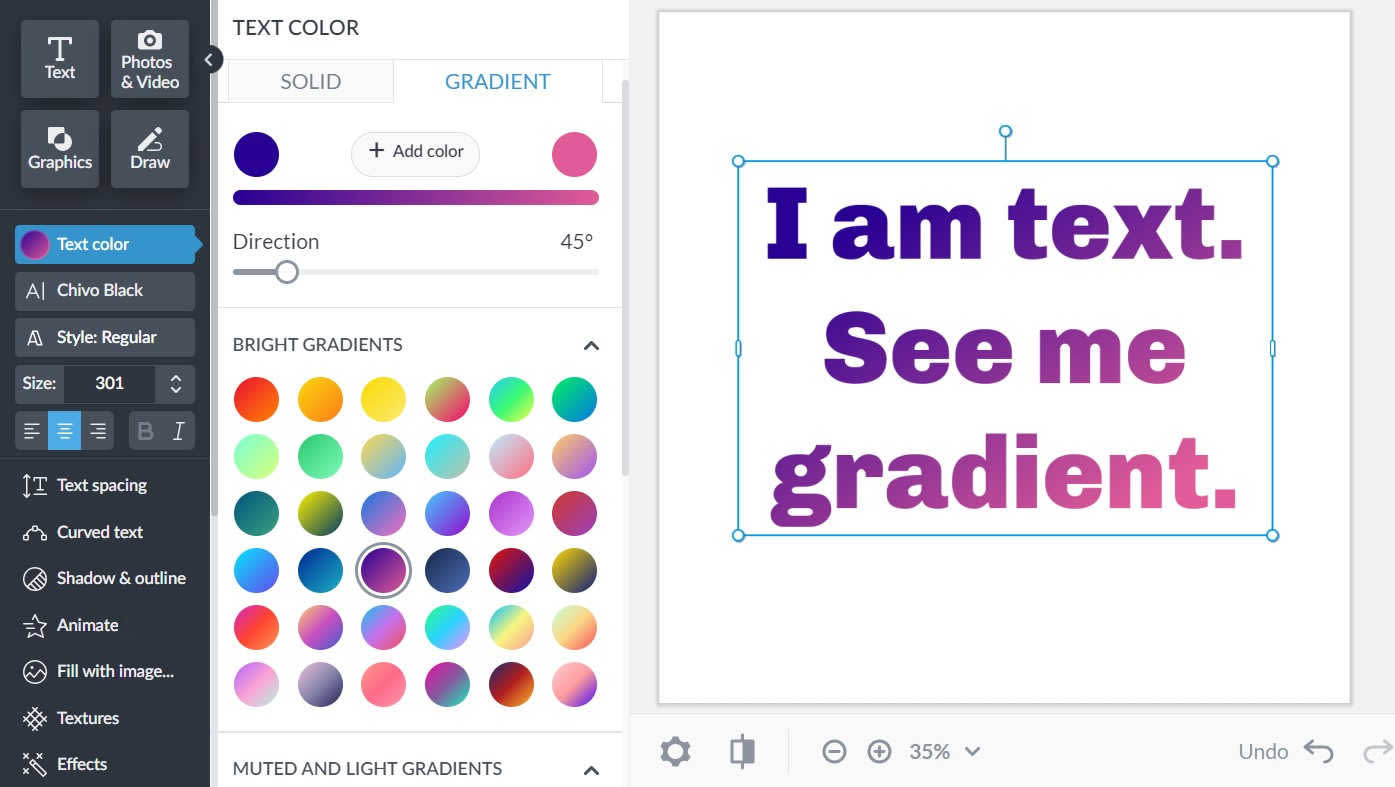
Select your text layer.
Click Text color on the left Text Tools menu.
Open the Gradient tab and behold! Dozens of preset options, PLUS the ability to make your own gradient color scheme, using up to 3 colors.
