Leave behinds are a powerful marketing tool for every business, regardless of the industry. Leave behinds can be anything from small paper gifts to fancified business cards, and they’re a great way to keep your business on the minds of potential clients. You can take them with you to networking events, leave them with potential clients, send them as a mailer, and even go door to door with them to make an impression on your neighboring businesses. Here’s the lowdown on how to create a memorable leave behind card with PicMonkey’s tools.
Set up your canvas
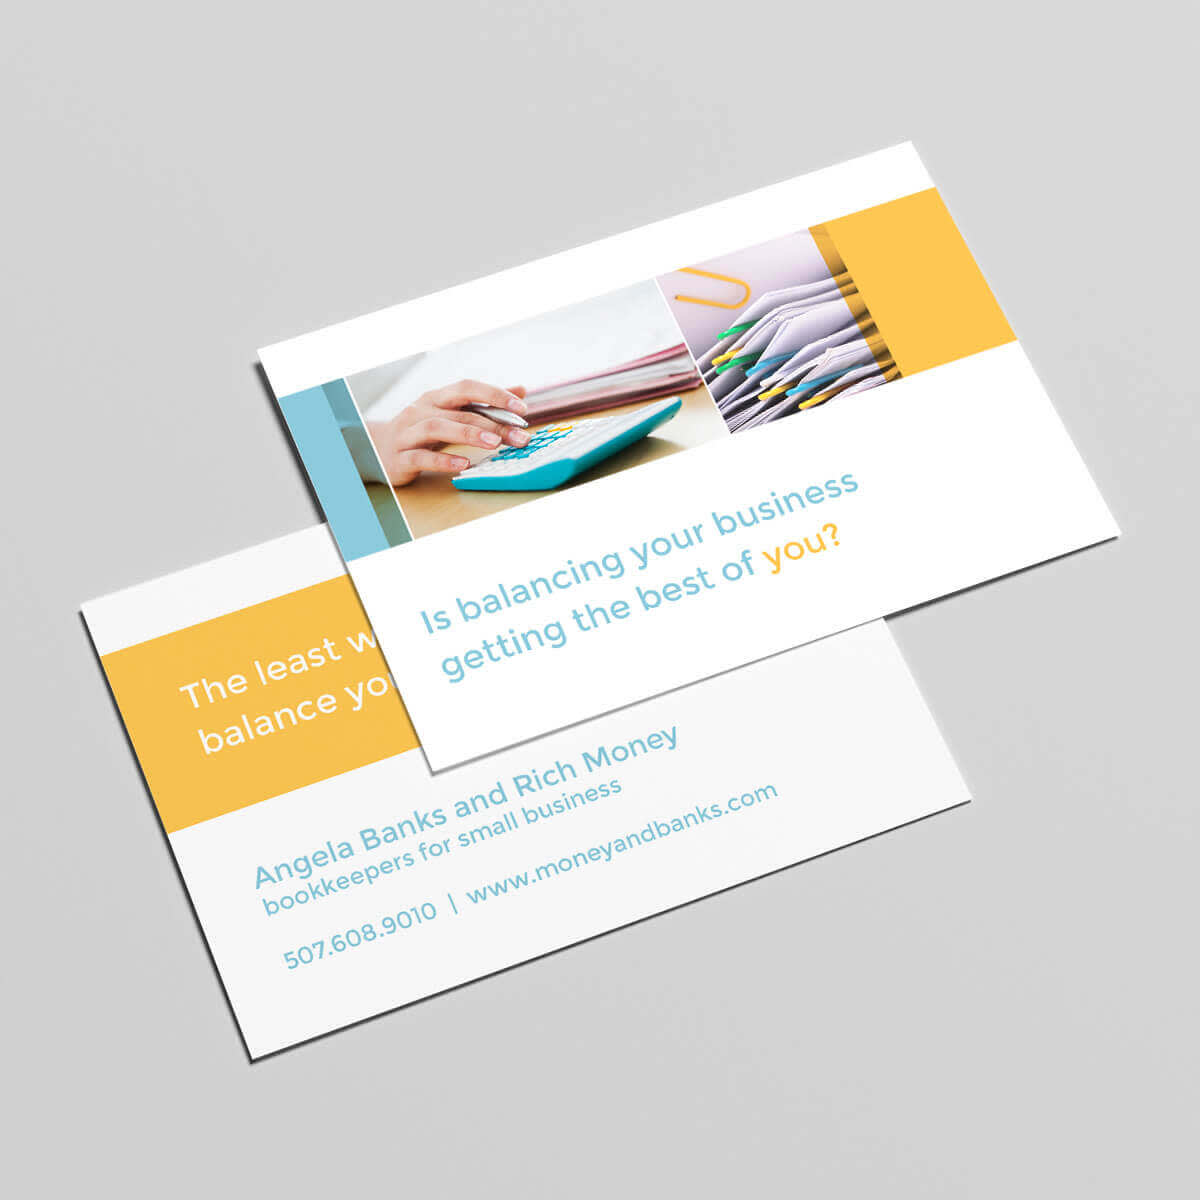
To create a design like this one, begin by hovering over Design on the PicMonkey homepage. You’ll see a number of different canvas size options displayed. We’re going to work with a 7 x 5 canvas for this design, which you can set up two different ways.
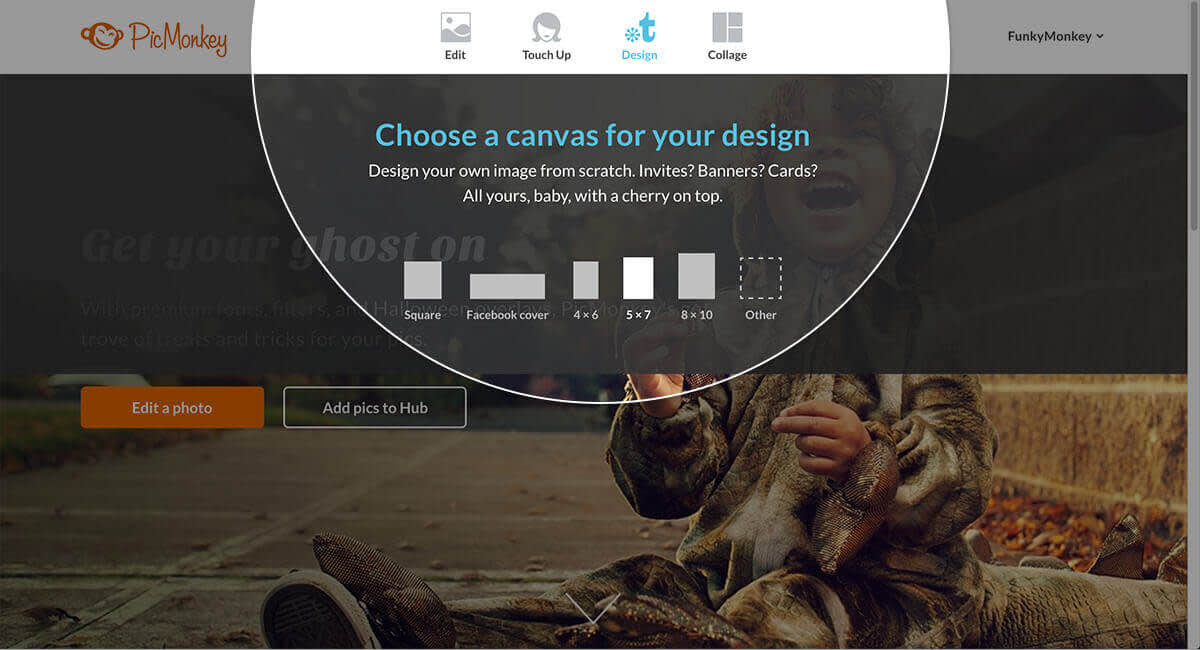
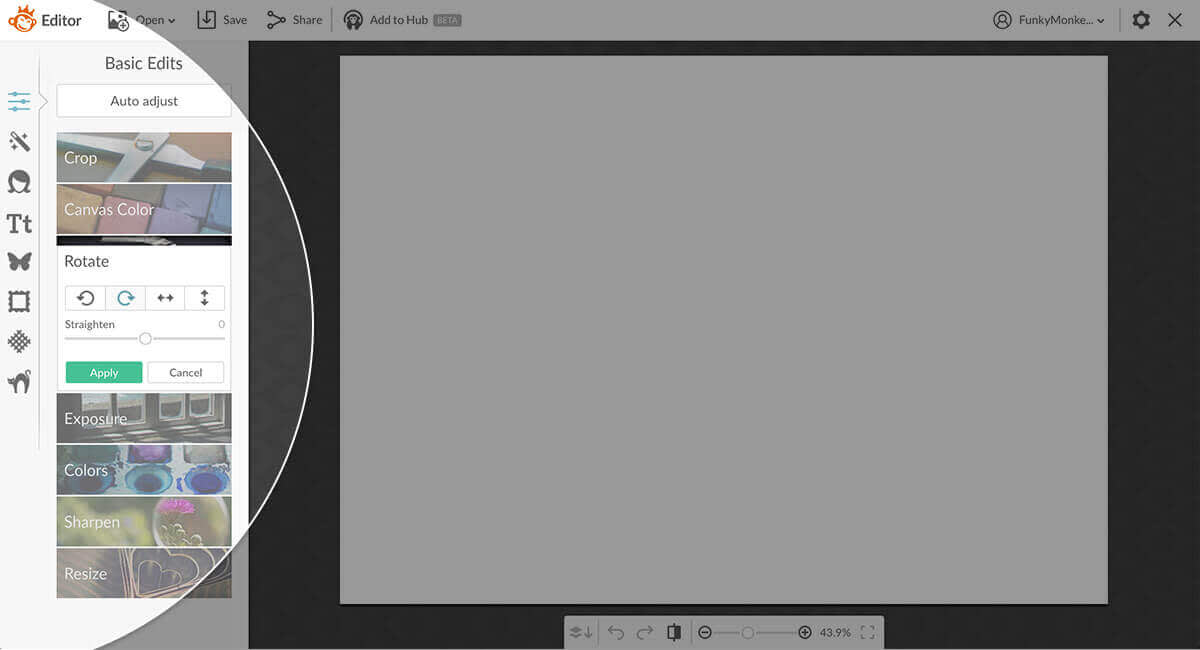
Option 1: Select the 5 x 7 option from the preset canvas sizes, then head to Rotate in the Basic edits tab and rotate it with the clockwise or counterclockwise arrow.
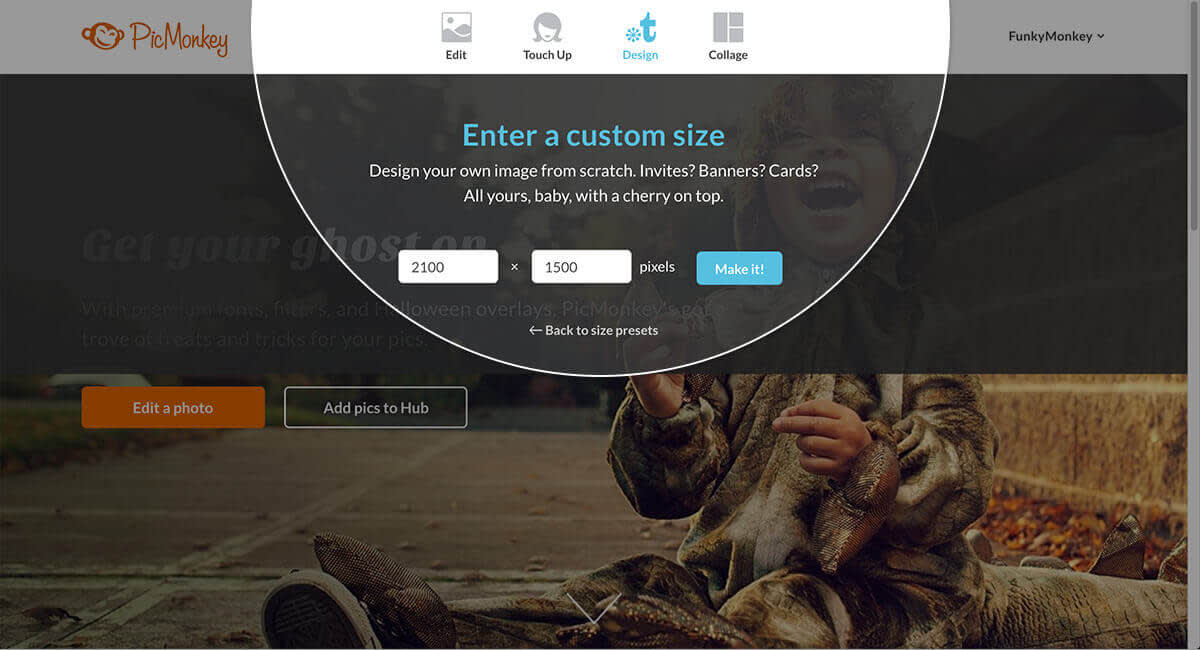
Option 2: Click the Other option from the homepage and set your canvas dimensions to 2100 x 1500.
Either way, you’ll end up with the same blank canvas.
Make a photo strip
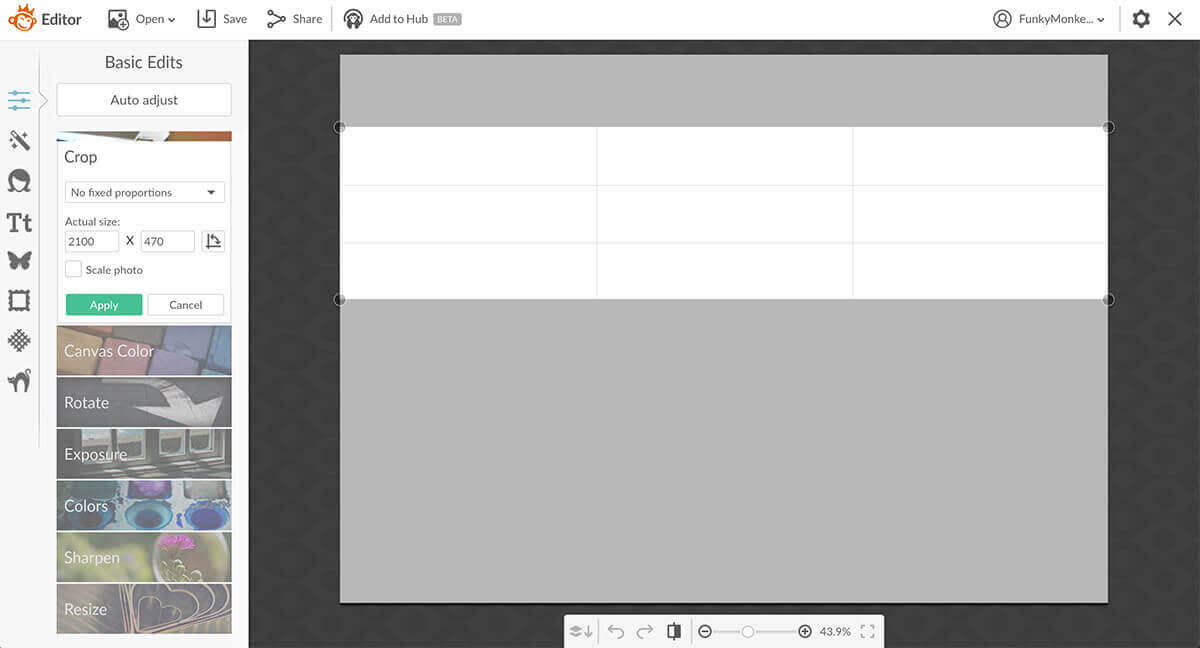
Now we’ll create a nice background for your images. Head to Crop in the Basic Edits tab and crop your canvas into a long, skinny rectangle. Cropping a 7 x 5 canvas—instead of setting specific dimensions for a long, skinny canvas from the homepage—allows you to see how much real estate your photo strip will take up when you add it to your design later.
Next, bring in any images you have saved with the Add your own button in the Graphics tab.
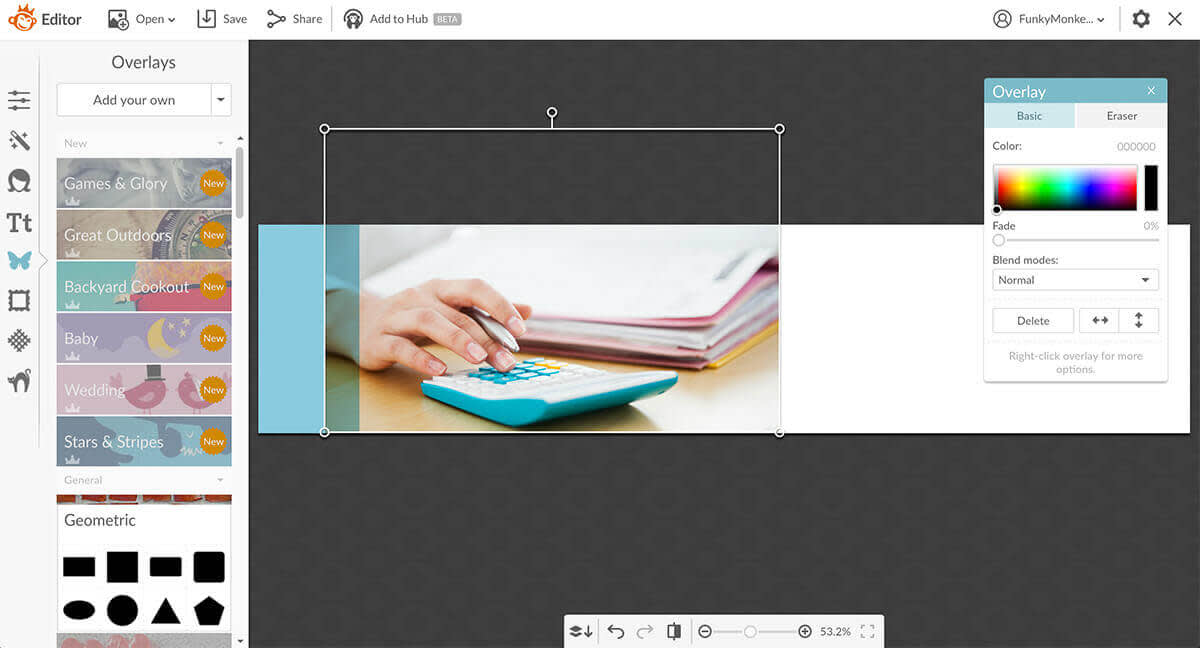
If you wanna break up your pics with some color blocks, check out Geometric in the Graphics tab and add some shapes to your photo strip. You can also adjust the Fade slider in the Graphic palette to get a look you like. When your photo strip is all done, save the image to your computer or upload it to Hub, in case you want to edit it later.
Design the front of your card
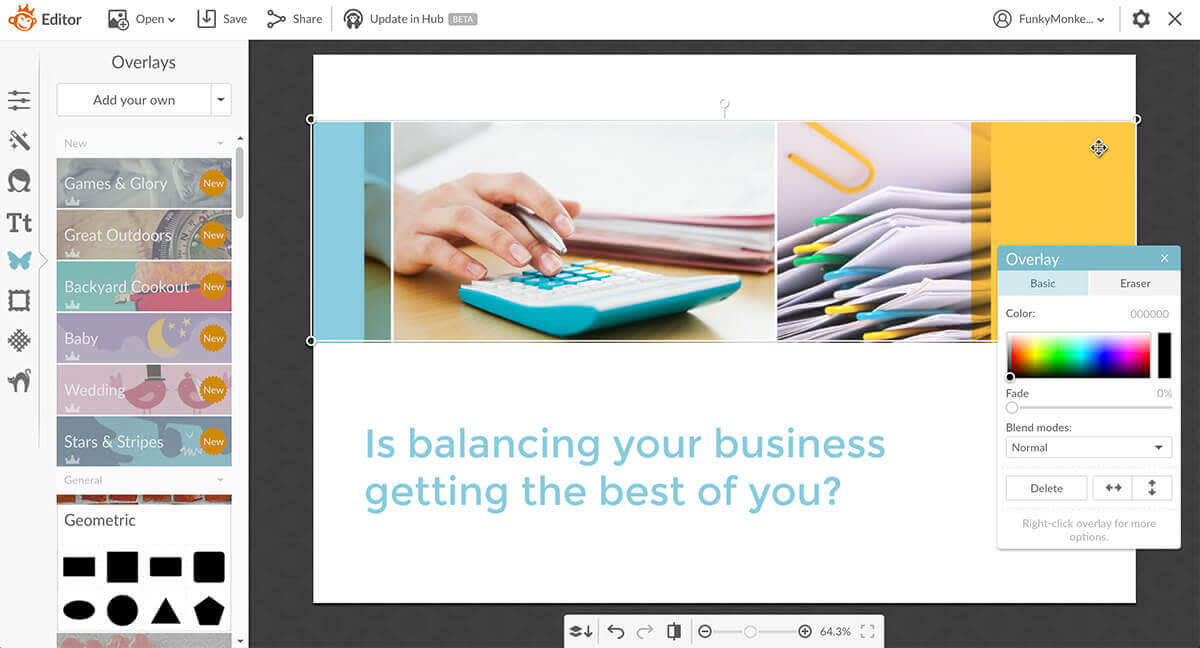
Now we’re going to put that photo strip to use. Set up another blank 7 x 5 canvas, and head to the Graphics tab. Click Add your own, then open and place your photo strip wherever you want it on your canvas.
Ready to get wordy? Think about a value proposition—what does someone get by working with you? All you need is a simple phrase that can be easily understood, and that will resonate with your audience.
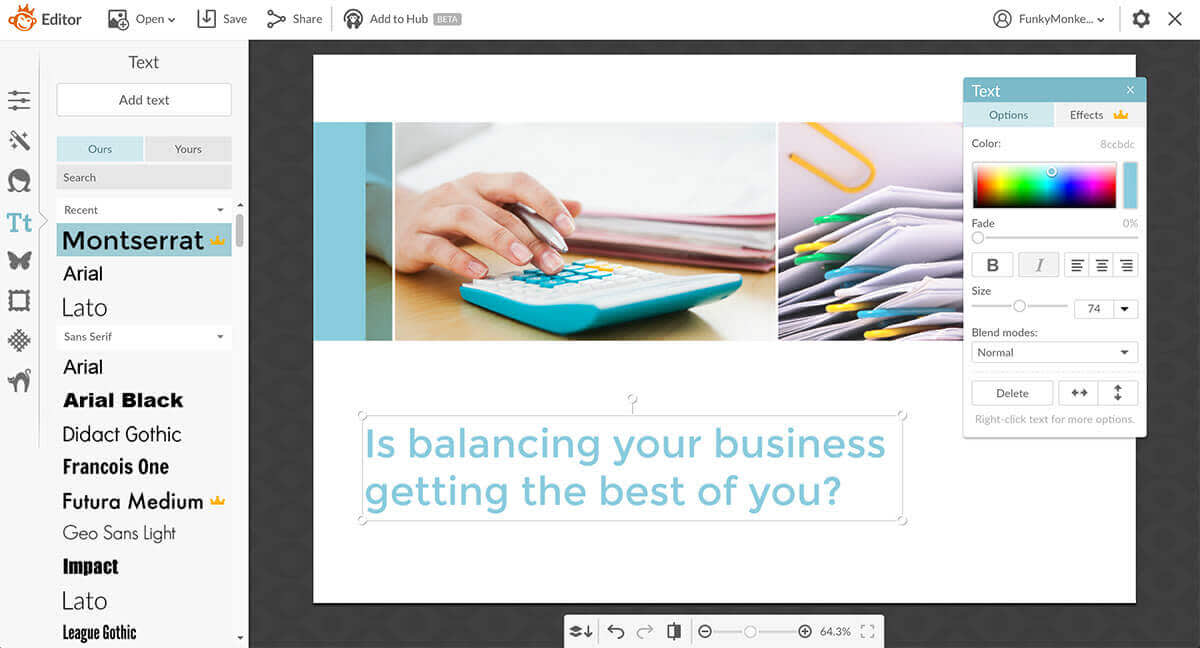
Once you know what you want to say, choose a font from the options in the Text tab (you can also use any fonts you have saved to your computer. Just click the Yours button.) Click Add text and type your message. To try out different fonts, highlight your words with your cursor and then click the font you want to try.
You can also change the color of your text with the color picker on the Text palette. If you’re feeling matchy-matchy, make your words the same color as any hue in your photo strip by clicking the color bar on the Text palette. Once your cursor transforms into an eyedropper, simply pluck the color from any place in your design.
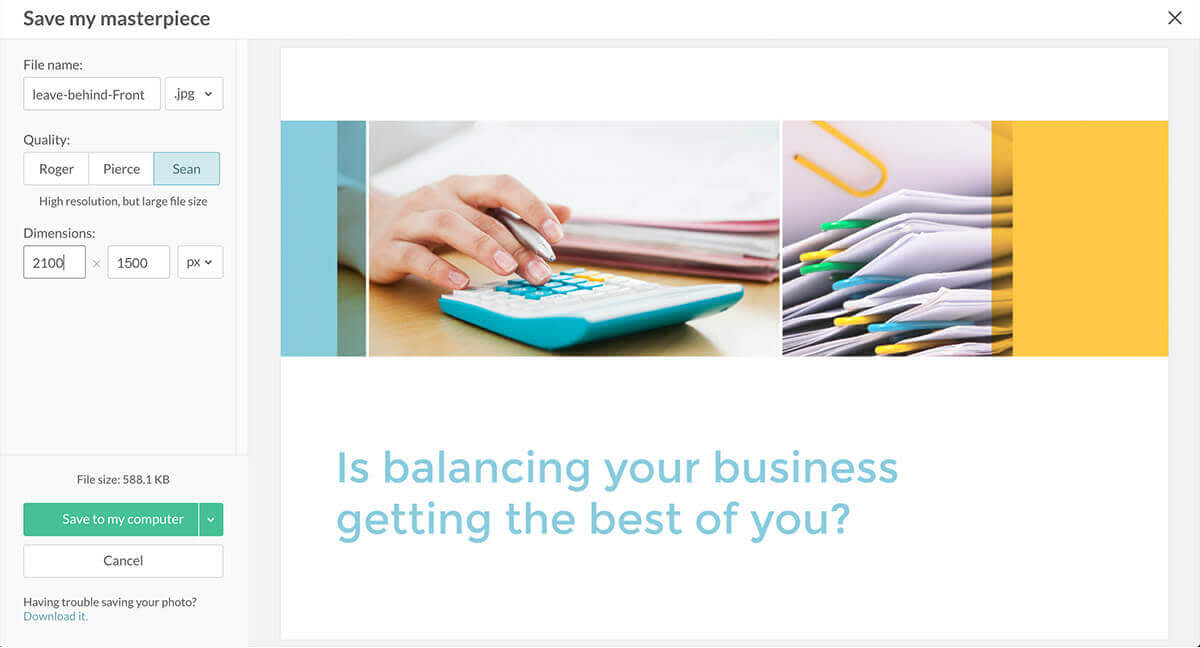
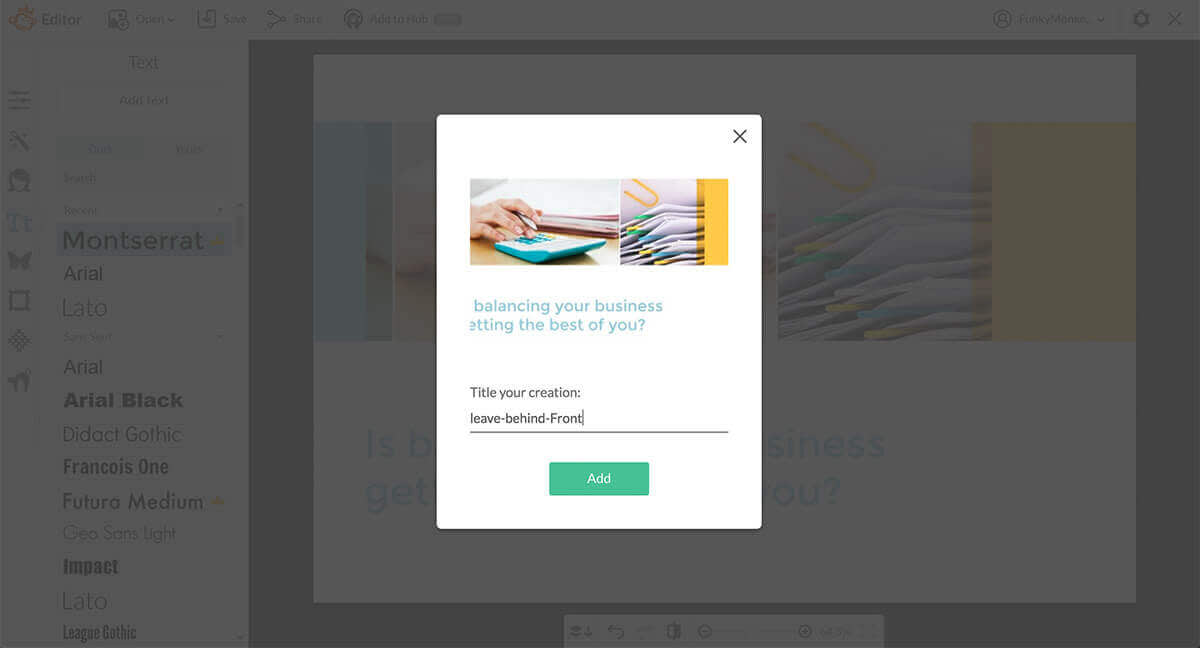
When your design is complete, click Save or Add to Hub.
Design the back of your card
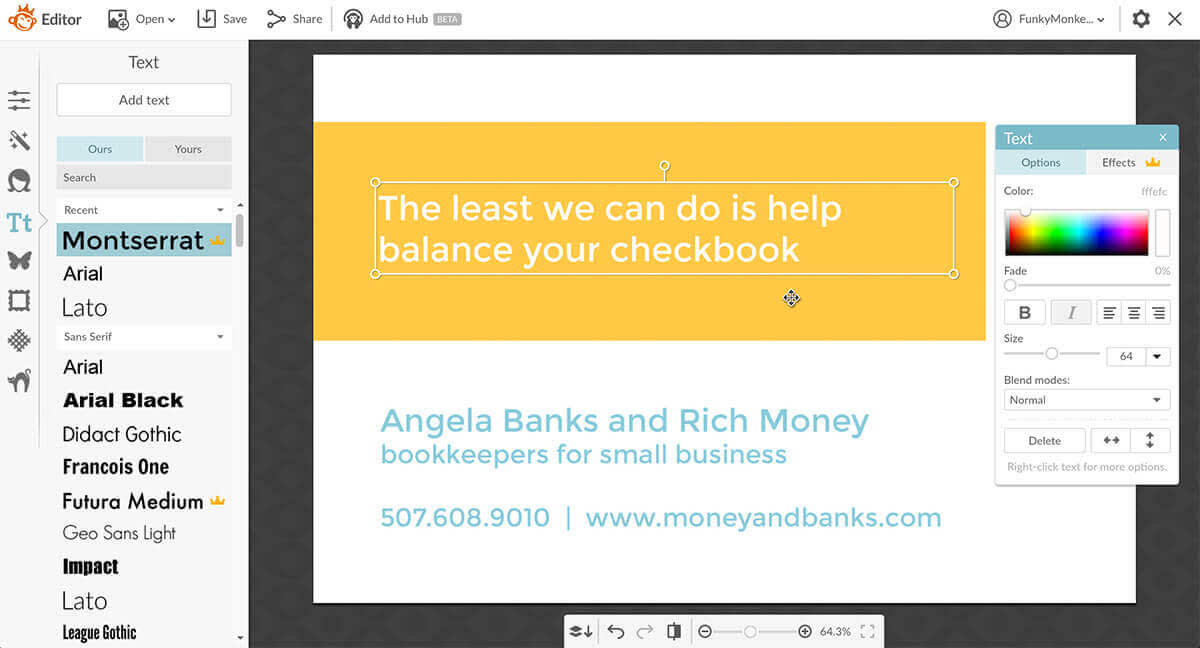
Set up one more 7 x 5 canvas, and design away! To get a colorful bar like this one, add a rectangle from Geometric in the Graphics tab, then resize it. (Tip: hold the Shift or Command key to stretch your rectangle longer without also making it taller). Add contact info for your business, a logo, and any other design goodness you desire.
Save your design, then send it out for printing or get some nice paper and DIY it. Now you have a professional-looking marketing tool that you can use to make an impression and gain new business.
