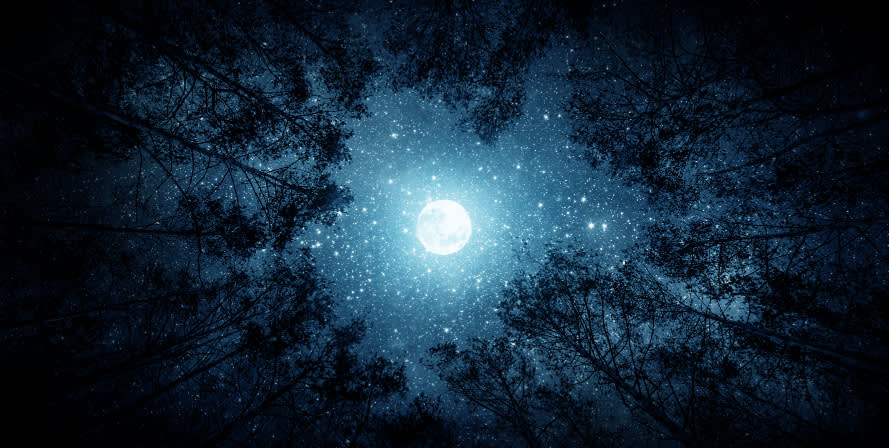
As if the year 2020 hasn't brought us enough extraordinary occurrences, this Halloween we'll experience a full blue moon as well. Get some quick tips on how to photograph the moon this Halloween night.

So what's a blue moon? It's a second full moon in roughly a month-long period. They don't happen often, hence the term, "once in a blue moon," with the last one being March 31, 2018. So yeah, it's a been a minute. And if you're embarrassed to ask, no it's not really blue—but you can certainly tint it or use a photo effect on it if you wanna color it during editing.
What to know about moon photography
"The moon's surface is essentially daylight, so it has a wide difference in exposure to a dark foreground. Use a long lens but put an interesting subject in front, even if in silhouette," explains PicMonkey CEO and experienced photographer, Frits Habermann. "The moon also moves, so watch out for long exposures."
Tips for shooting the moon with a phone

Taking pics on your phone? Frits says you'll want to do an exposure against the moon, and not the foreground to capture the definition in the moon. Shoot when it's near the horizon to allow the color of the atmosphere to make it more powerful (see Blue Hour tips below), but also the lensing of the atmosphere will make it look bigger. This time of day, with the moon low on the horizon, the heat or light coming off the earth can warp the air a bit and cause the moon to appear blurry.
See more phone photography tips: Top 10 Tips for Taking Better Pics with Your iPhone
Timing and conditions
Head on over to NASA and check the conditions forecast using their Night Sky Planner tool. Learn when to expect the moonrise and where, plus you can check the night's weather forecast on the same page.
Aim for the "Blue Hour" if possible—for balanced exposures it’s 30-45 minutes past sunset or 45-30 minutes before sunrise (this can vary depending on your latitude). The sky isn't quite pitch black, and there's a beautiful blue hue for a short window of time.
Learn more: The Quintessential Guide to Blue Hour Photography
Focus in the daytime
If you're using a manual camera, focus on something “at infinity” (read: very far away) during the day, then tape down your focus ring, or mark the alignment of your focus ring and zoom ring. The hard part about focusing in the dark is that it’s dark. You need light to see, and you need to be in focus. Pre-focusing in the daytime is a popular trick to get around this obvious but surprisingly overlooked obstacle.
Get more nighttime shooting tips: How to Photograph the Geminid Meteor Shower
Set your white balance for Halloween Night Pics
Set your white balance to daylight. The white balance on your camera is all about making light sources that aren’t white look as if they were sunlight. Incandescent light is decidedly orange. When you set your camera to incandescent, it’s applying a blue tint to the light to compensate for the orange, and correct it back to white.

For Halloween night photography, you don’t want to correct the light. This way, you can capture the color of the warm candle, the foggy porchlight, the glowing moon, or the green glowstick. It’ll be unlike conventional photos. It’ll be other-wordly. It’ll be perfect.
Read more: Halloween Night Photography Tips: From Cute to Spooktacular
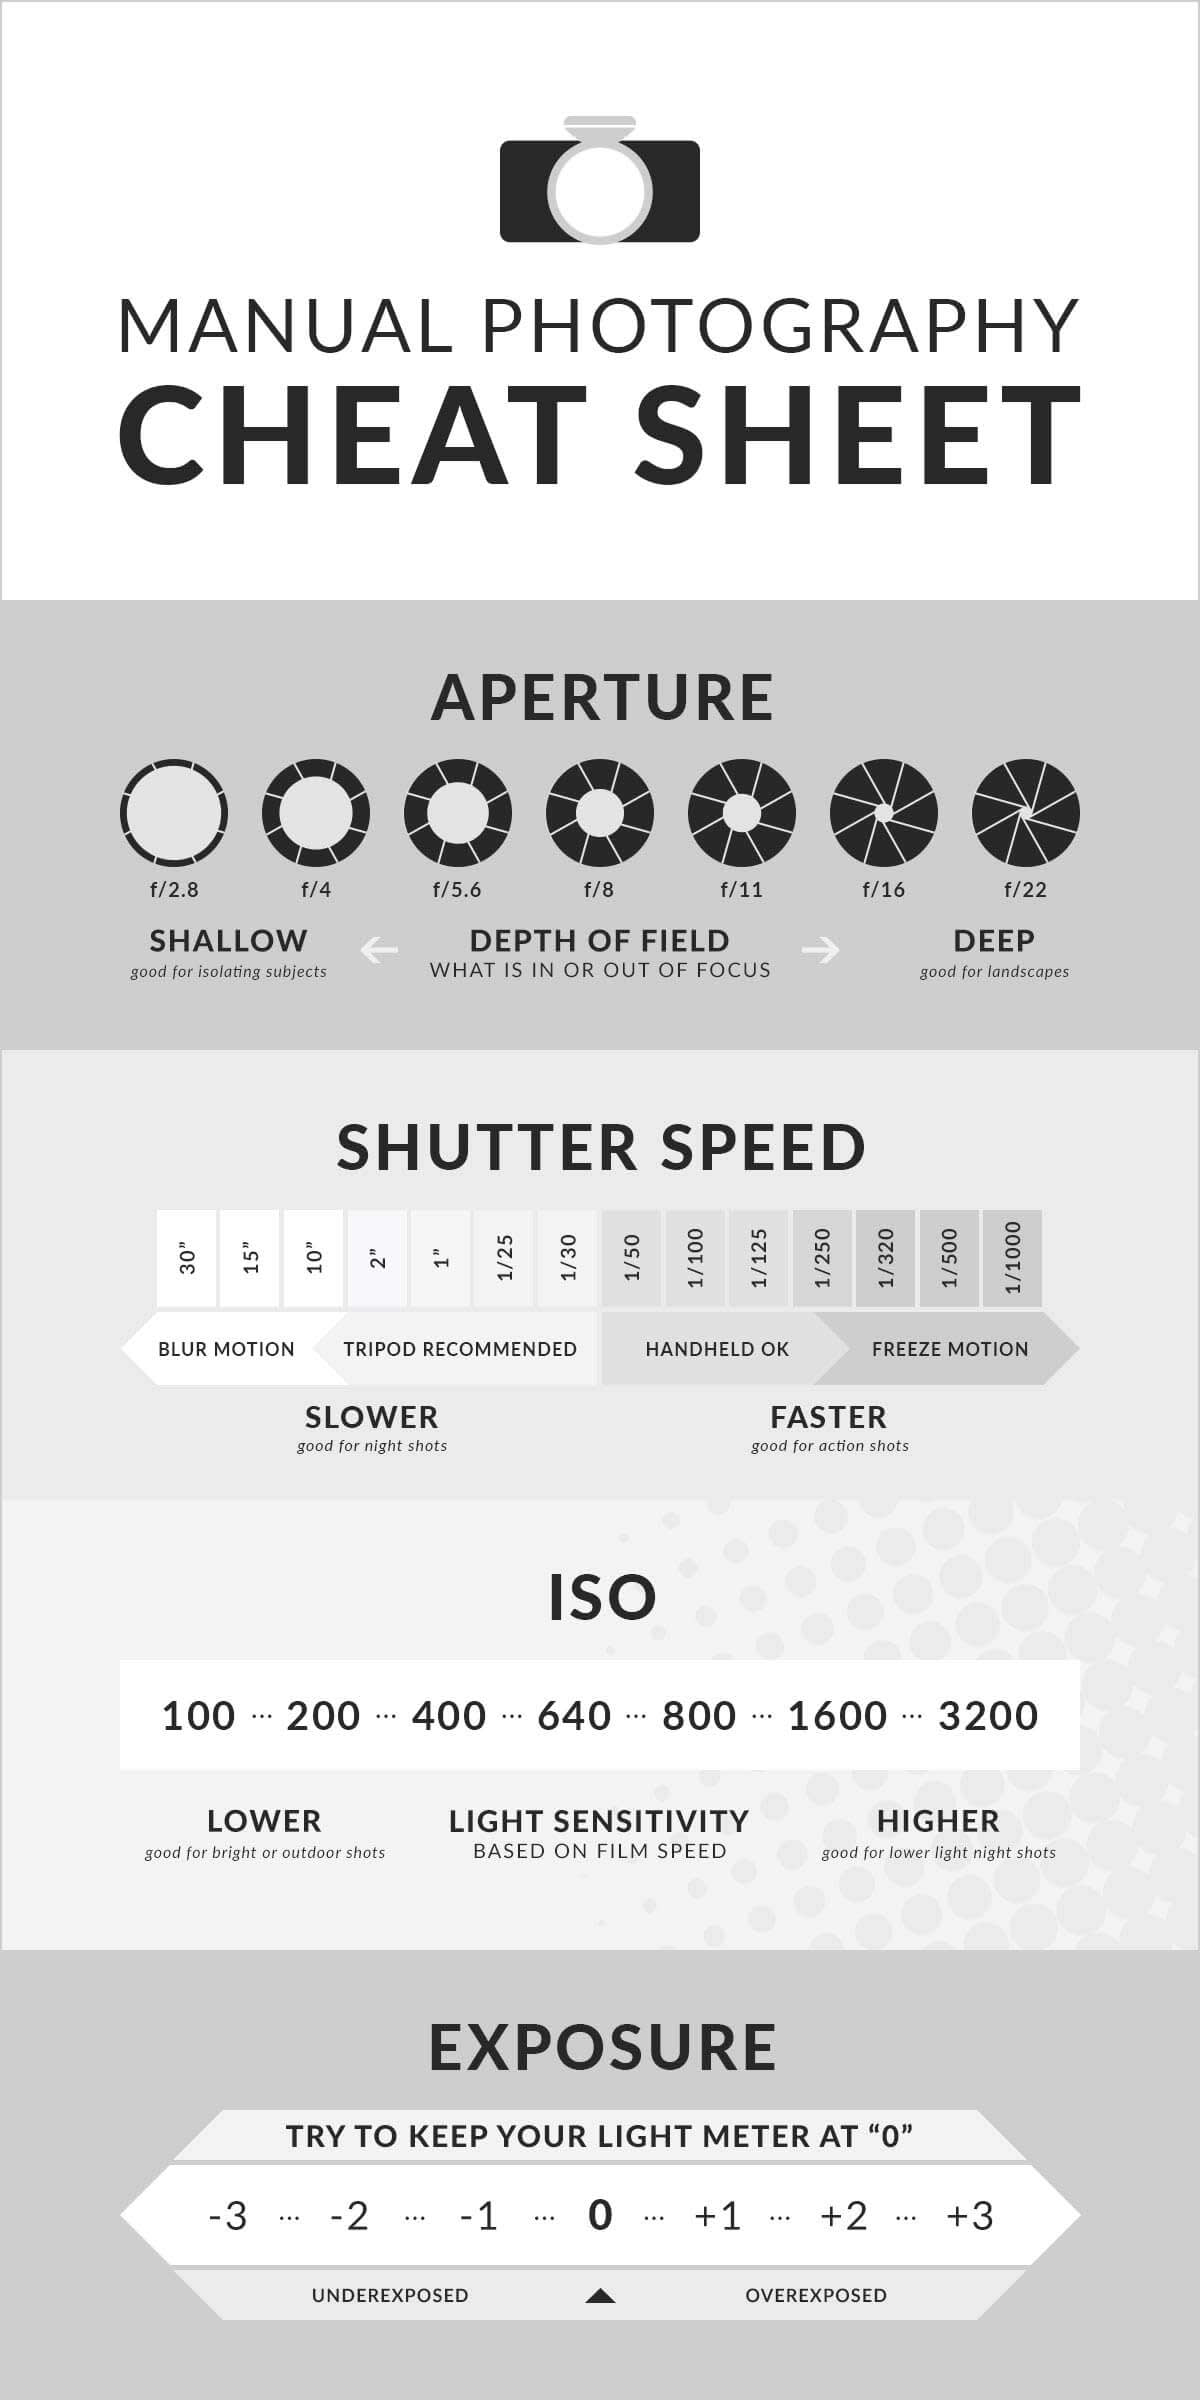
Get your settings correct with our photography cheat sheet
This handy little guide will help manual photogs to get their settings in order:

Go more in depth: The Ultimate Photography Cheat Sheet
Put on the finishing touches with effects or Halloween themes

We have Halloween and fall templates for everything from social media to email to flyers to cards
Use your gorgeous moon photo in a beautifully-designed template—we have thousands to choose from. Or head on over to check out our six Halloween design themes devoted to this time of year: Vampires, Zombies, Witches, Demons, Day of the Dead, and Trick or Treat. These themes are curated collections of fonts, graphics, textures, and effects that make designing Halloween images scary easy.
